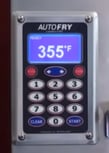
One of the more common technical support calls we get on a daily basis is for an AutoFry basket error. You might be having this issue if your basket isn't dumping the food all the way or you see an AO4 error code displayed on the keypad display. Luckily, the fix for this problem is very simple, and requires nothing more than a large crescent wrench and a little elbow grease to complete an AutoFry Basket Adjustment. If you're having one of these issues, read on for a step by step guide to adjusting your AutoFry basket height or watch the video at the end of the post.

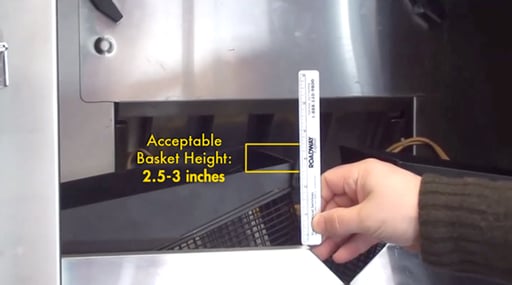
Proper AutoFry basket height is 2.5-3 inches from the base to the top corner of the basket. If your basket is sitting any higher or lower than that range you're likely going to run into issues.

1. Start with the AutoFry in the ready position.
2. Take your basket out of the machine.
3. Set the basket on a firm surface.
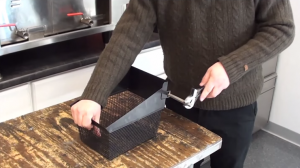
4. Place the crescent wrench on the flat side of the basket rod
5. While holding the basket firmly with one hand, apply pressure to the wrench to put a slight twist in the rod. A little twist will go a long way, so start small, test your work and twist more if you have to.
 6. Return the basket to the machine to see if you have put the right amount of twist into the rod.
7. If your basket is at the right height (remember, it's 2.5-3 inches from the base to the top corner of the basket), congratulations you've successfully adjusted your AutoFry basket height.
8. If your basket is not at the right height, repeat steps 2-6 until you've achieved the proper AutoFry basket height. This may require a little bit of trial and error.
That's it. Six simple steps to adjusting your basket height and returning your AutoFry back into a frying master machine. Remember, if you have trouble, our technical support is open from 8am-8pm EST every day to provide assistance by calling 800-348-2976 x112
A video tutorial for the AutoFry troubleshooting and basket height adjustment can also be found below: