
The time has come for seasonal businesses to get ready for the spring and summer. This means pulling that AutoFry and all its accessories out of storage and preparing it for the busy months to come. Making sure your AutoFry is in tip top shape is great way to ensure your business hits the ground running when the time comes. Follow our 10 easy steps below and you’ll be ready for the season in no time!

First things first. Place your AutoFry in its designated area and remove any wrapping or covering used for winterizing the equipment.

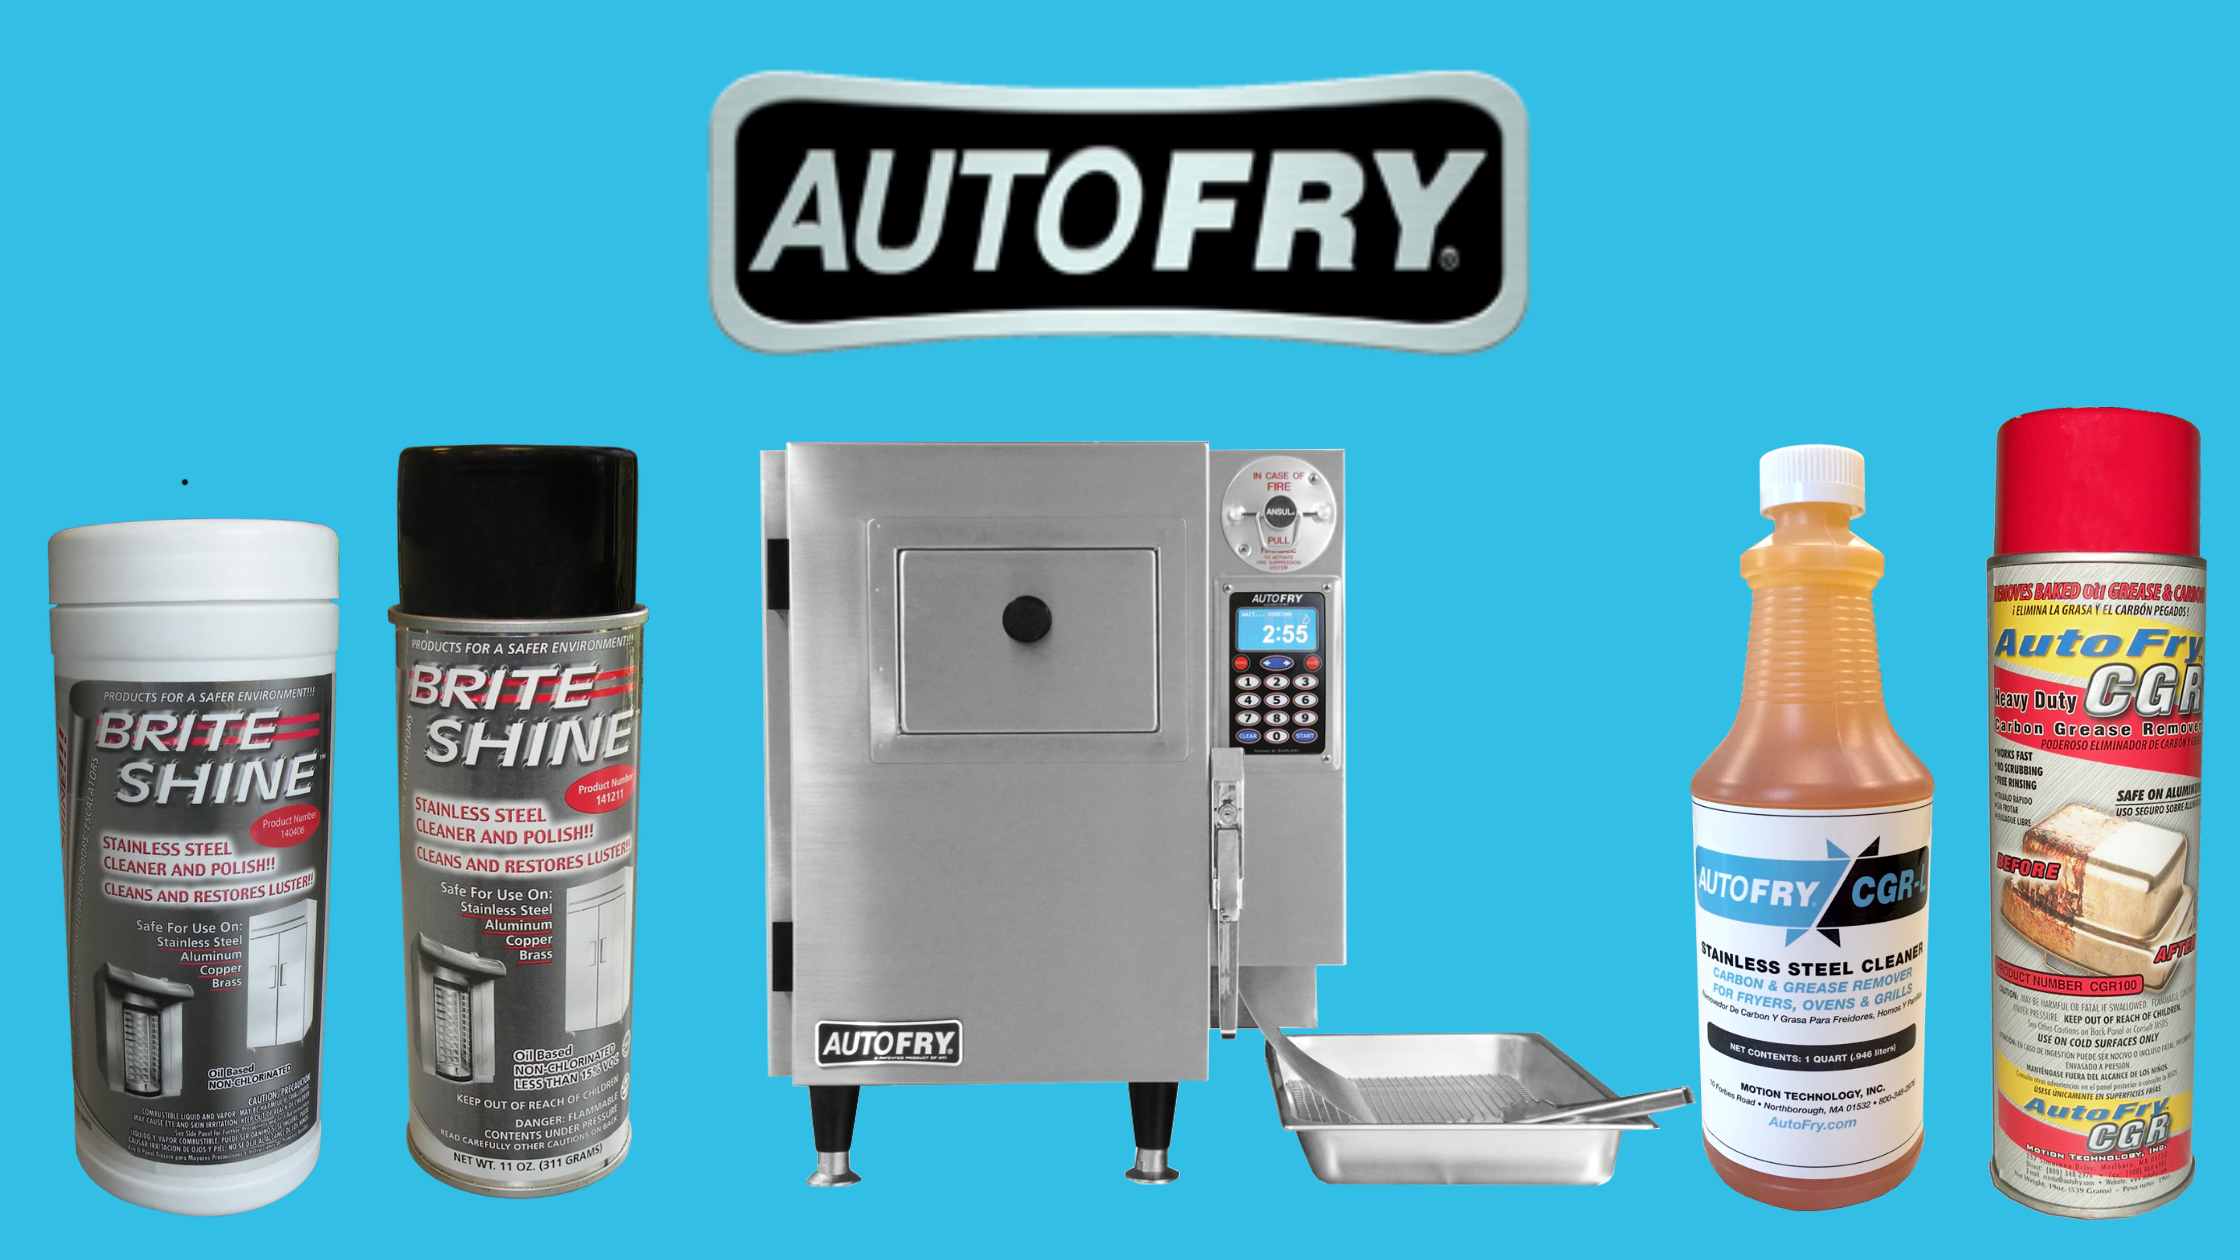
Next you will want to remove the entry and exit chutes, teflon basket, and oil pot, and wipe them down with a wet towel to remove any dust that may have accumulated. Then set them to the side.

Even if the interior was cleaned before being put in storage, you will still want to wipe it down again using our Carbon Grease Remover. This will get rid of any built-up dust or leftover grease.

Clean the exterior! You may have wrapped or covered your AutoFry before storing, which means dust collection will be minimal but not non-existent. Again, use the Carbon Grease Remover for dust or leftover grease.
.png?width=300&name=Seasonal%20Blog%20-%20Step%20Four%20(1).png)
Protect your equipment from future grease accumulation by coating it with MTI-Shield. This protective layer creates a barrier between grease and the AutoFry, making for less strenuous cleanings.

Let that AutoFry shine! Brite Shine Stainless Steel Polish keeps stainless steel appliances looking brand new. This handy little helper is available as a spray or wipe.

Reinstall the oil pot, baskets and chutes and fill your oil pot with your preferred oil choice to the specified “Cold Line” shown on the interior wall. Remember, NEVER turn on the AutoFry without having oil in the oil pot.

Reconnect your electrical plug. This should have been disconnected during winterization. Once that has been reconnected you are ready to plug in to power at the wall and turn on the AutoFry.

Reach out to your local fire equipment company and schedule an inspection for the fire suppression system inside the AutoFry.

Once up to temperature, run a cook cycle through the AutoFry to make sure your basket is set properly, and all other components are in working order.
Well, there you have it folks. Follow our ten simple steps and prepping your AutoFry for the new season will be a breeze! Don't forget to check out our Spring Fever Sale to shop select cleaners and accessories at a discounted price. Click below to start shopping!
